Showing posts with label downloadable. Show all posts

Thursday, January 28, 2016

FREE Project: On a Cloud of Fabric

Happy TBT!

I hope you all are having a wonderful and creative week. Coming back to my blog after few days of crazy work is like a breath of fresh air. Blogging and sharing my projects with all of you is one of my many favorite parts of the week. For the longest, I wanted to share with you my Pillow Bed tutorial which features Naturella and Nature Elements Collections, indeed a TBT! These are so much fun to make, and I completely forgot about them, I cannot believe it. But, thanks to a productive week I found the files on my computer, oh joy! Please lovelies enjoy making this fabulous Pillow Bed project as much as I did!

To download the step by step instruction click here.


Isn't this perfect for an afternoon picnic? 


What You'll Need:
  • 1 yd of Fabric A
  • 1 yd of Fabric B
  • 1 yd of Fabric C
  • 1 yd of Fabric D
  • 1 yd of Fabric E
  • 1 yd of Fabric F
  • 1 yd of Fabric G
  • 1 yd of Fabric H
  • 1 yd of Fabric I
  • 18 pillow forms (14")

Happy sewing my lovelies!

Love,

Pat


Monday, January 11, 2016

Necessities!

Hello everyone!

I wanted to make this quick blog post for a while ago because I received so many request regarding some of the cheat sheets I share on IG. I know some of you are new to social media and may not have Instagram or Pinterest (where I usually re-share the images) So that is why I decided to make this little blog post with some of the most requested cheat-sheets. 


To be completely honest with all of you, these are also my to-go cheat-sheets. I always have them print out and displayed on my sewing room and they had been a life saver!

Get your downloadable quilting cheat-sheets below and have fun sewing!  

1234 


xoxo,


Pat.  

Tuesday, February 10, 2015

A Valentine's Day Gift ♥

Hello lovelies!

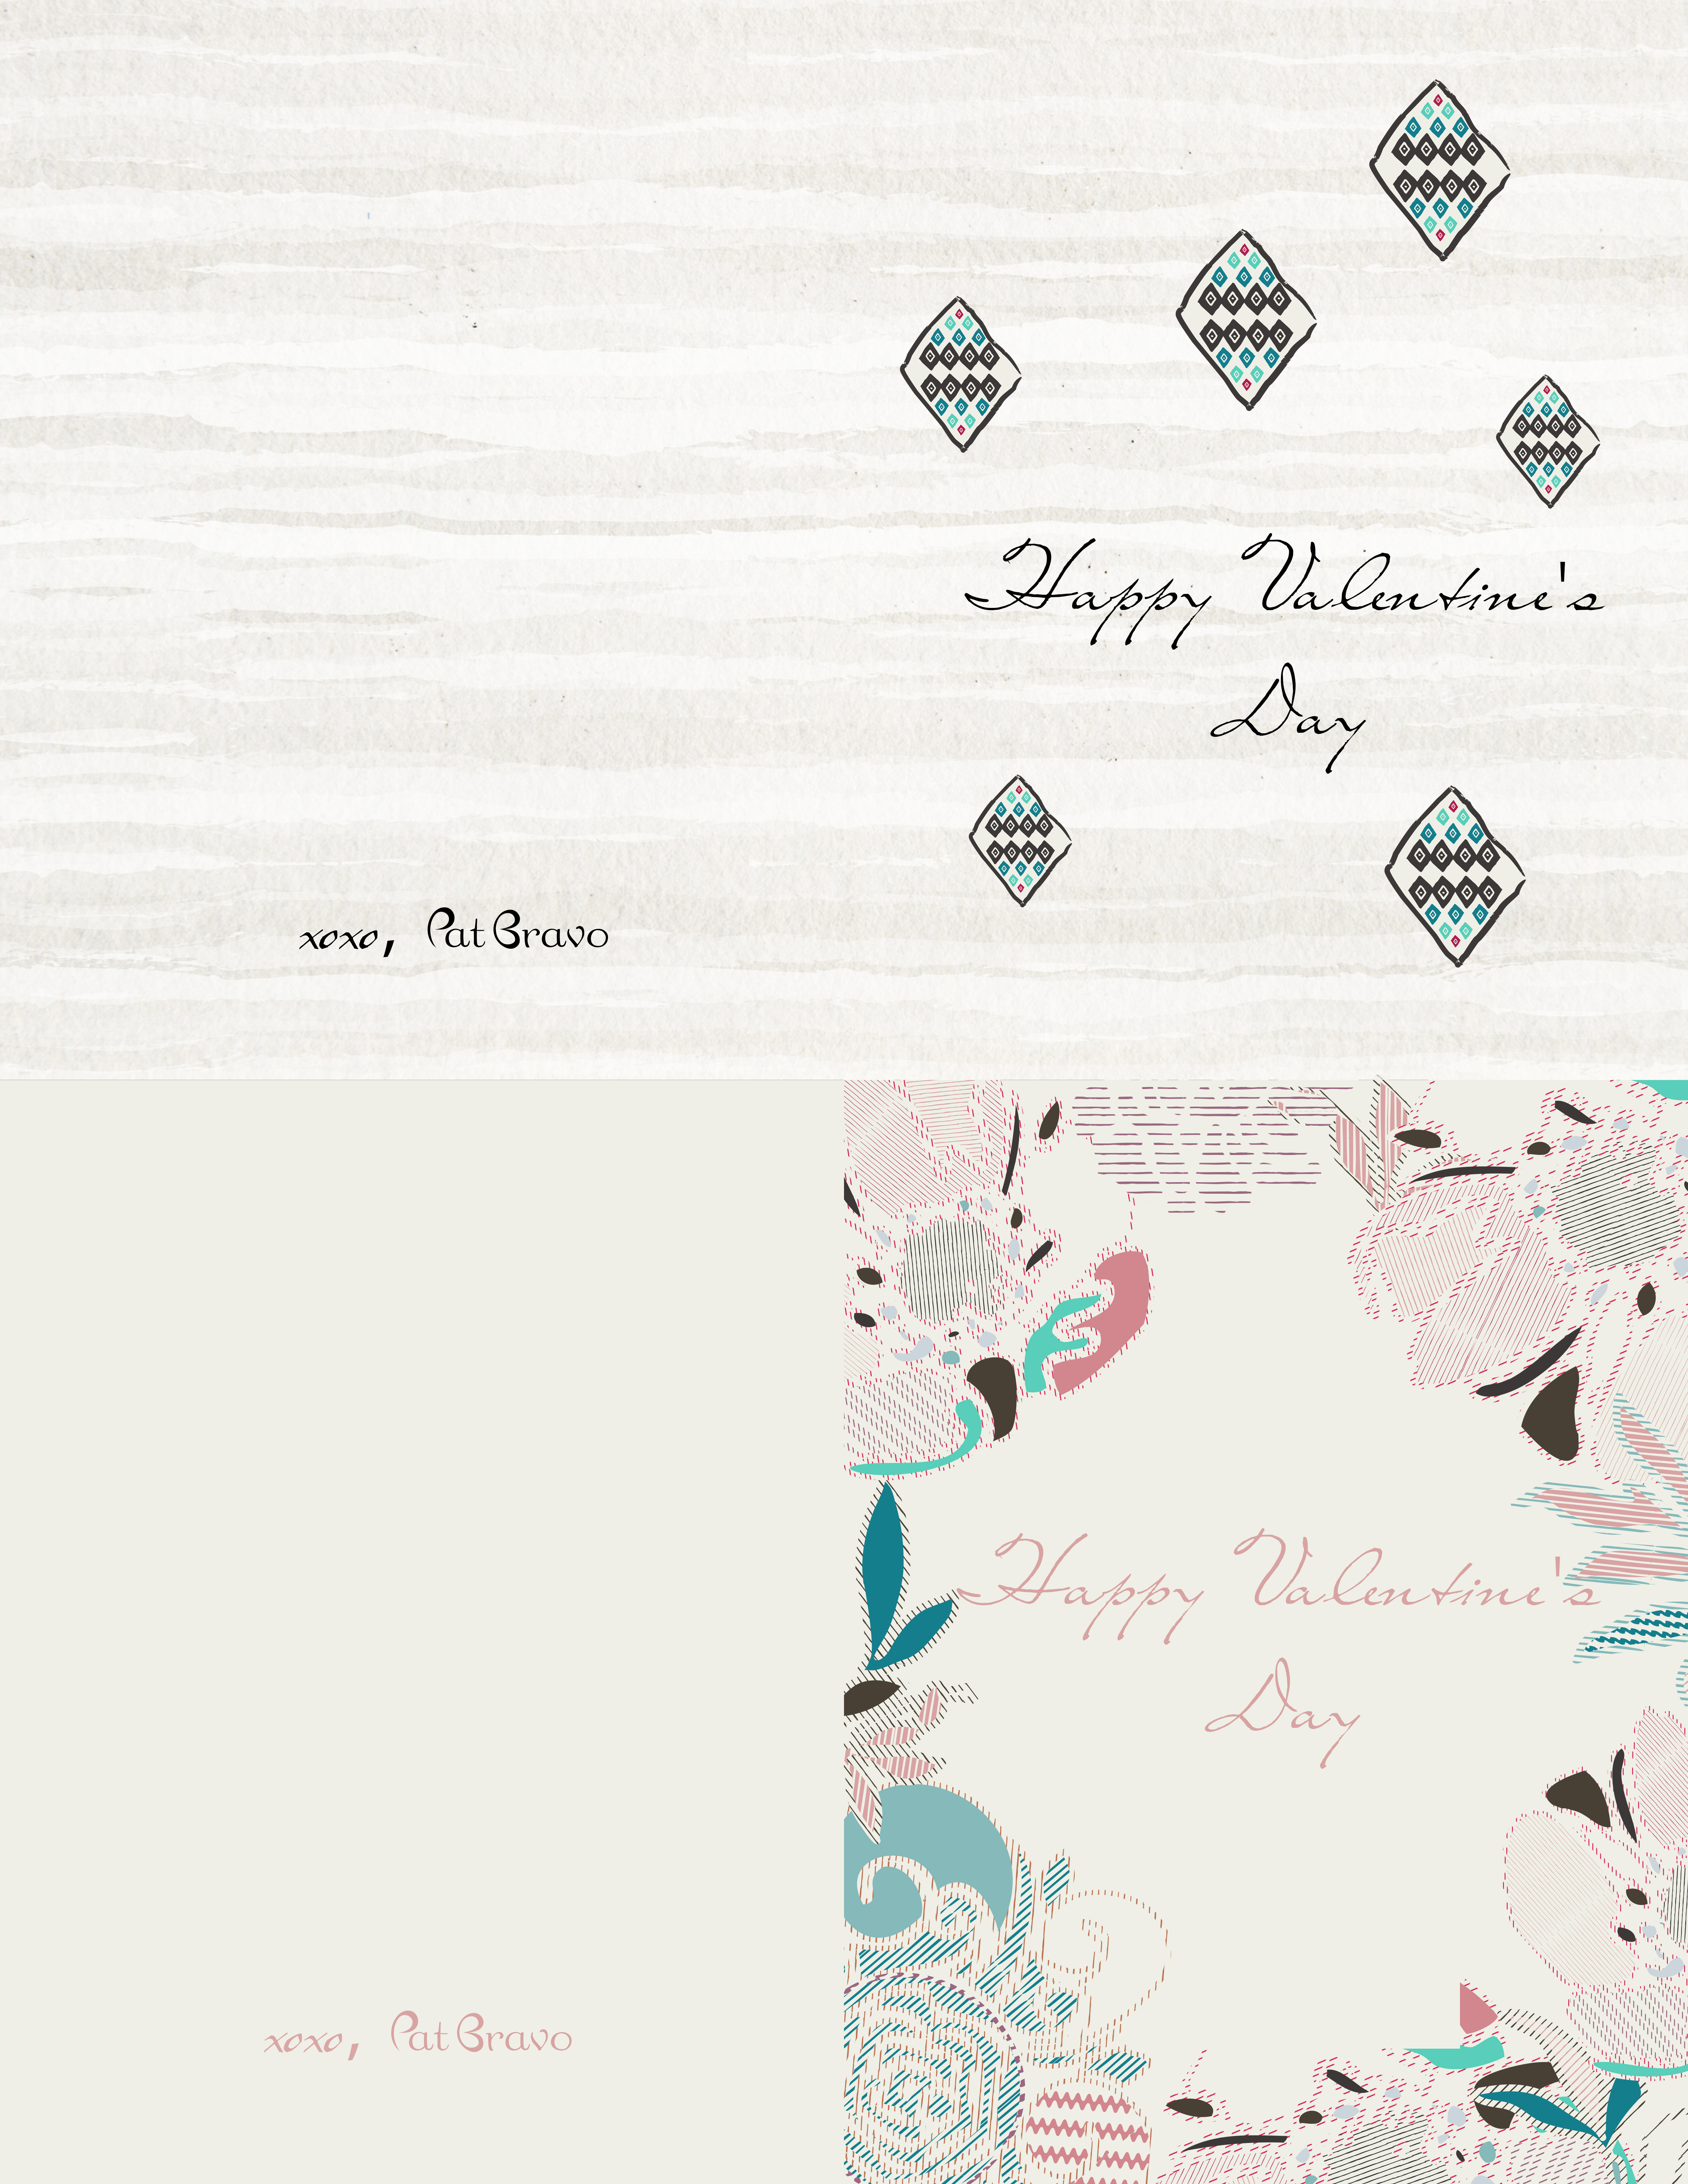
I am very thrilled to finally show you what I had been creating for Valentine's Day!!.......Surprise, surprise! With Valentine's day a couple of days away, I wanted to surprise you all with these downloadable ♥Valentine's day Cards♥. Featuring Etno and Dreaming in French, these cards will be a perfect add on to your Valentine's day gift☺


Make these cards a bit more original by adorably tying them with a hemp string and adding a fabric heart on the back. In this case, I used Looming Love Pastel. 


I wanted to create a different type of Valentine's Day card...make it a bit more original and unique. Therefore,  I have created five different designs to fit everyone's style.....or you can just use them all☺


Download your favorite and make that special someone extra special. Downloadable links for each card are provided below.


Links
1. Dreams of Amina/Stitched Anthimania Luster
2. Cubist Perception/ Sauvage Sky Artic
3. Pink Coquette/ Fresh Romance


Have fun this Valentine's Day ♥! And enjoy this day with your significant other.

xoxo,

Pat.


•DISCLAIMER•
For personal use only, Pat Bravo ©


Wednesday, February 4, 2015

FREE Projects: Dreaming in French

Hello lovelies!

Today I feel very inspired by pastel colors and Paris! So I want to share not one, but two free projects using my Dreaming in French collection. Like this stunning Peony Pillow featuring  Pink Coquette design from Dreaming in French and Oval Elements' Petal Pink.

To download instruction click here.

What you'll Need: 
  • 2 ¾ yd of Fabric A
  • ¼ yd of Fabric B
  • 1 (one) 21" pillow form round


And this sweet and cute Romance Pillow designed using Orchid Bloom from Dreaming in French and Pure Elements' Vere Violet! 

To download instruction click here.

What you'll need:
  • ½ yd of Fabric B
  • Fat eight of Fabric A
  • 1 (one) 16" × 22" thin batting piece
  • 11" × 18" piece of Steam a Seam 2 Interfacing (Double sided ultra light weight)
  • 1 (one) 14" × 20" pillow form
  • Color coordinated thread (lime green & violet)

I hope you enjoy creating these two wonderful and fun projects that will illuminate your home! 

Enjoy a happy day of sewing my lovelies

Love,


Thursday, October 17, 2013

FREE PROJECT : The Saddle Bag

Hey everyone!

How's the fall season treating you? I know I can't really complain, being in Florida and all. But some days it's rainy and gray for days, truly the perfect to get cozy with a favorite quilt and a nice movie.

So, if you are experiencing some blah weather, let me brighten up your day with a brand new FREE PROJECT!

You know when you have to go do some errands around town and need to carry the basics (say, keys, cash, cellphone, etc.) but at the same time you want to travel light? Well I got the perfect project for you! Introducing: The Saddle Bag.

SaddleBag2

This cute little bag can fit the basic items you just can't leave the house without; and it is soooo easy to make!

Saddlebag3

This one is made with the AGF Oval Elements line for the body of the bag and Dreaming in French for the strap and lining. I put a little tassel to give it kind of a bohemian feel, but you can go for a different look and add a little brooch, button, or whatever you can think of!

SaddleBag

Cute, huh? The best part is that it is absolutely free to download here, so what are you waiting for?

Click here to download the project. Visit patbravo.com to see more sewing and quilting free projects.

Happy sewing!

Wednesday, September 11, 2013

FREE Project : At a Crossroads

Hello my lovelies!

I'm so thrilled that you are all having fun entering my giveaway. Remember that the final day to enter is Friday and I will be announcing the winners on Monday!

'Til then, I have a little something to keep you busy while you anxiously wait for the announcement!

Today, I'm sharing with you a free project I made with one of my favorite fabric collections, Hyperreal Garden. It's called the Crossroads Pillow!


This patchy pillow creates diamond shapes with its multi-directional design and uses the piping technique for that extra finished touch. It's so easy to make, you'll be able to make quite a few of them for your home in no time!


You can find the link to the Crossroads Pillow instructions here.

Here's what you'll need:
  • Fat Eight of Fabric A
  • Fat Eight of Fabric B
  • Fat Eight of Fabric C
  • Fat Eight of Fabric D
  • Fat Eight of Fabric F
  • Fat Eight of Fabric G
  • Fat Eight of Fabric H
  • ¼ yd of Fabric E
  • 3/8 yd of Fabric I
  • 12"× 24" pillow form
  • 1 1/8 yd piping cord (¼" thick)
Feel free to share some juicy pictures of your very own Crossroads pillow in your home on my Instagram! I would LOVE to see them!

Happy Sewing,


Thursday, June 13, 2013

FREE Project : Tablet Coverlet

Hi there! Friday is almost here and it time to get some weekend sewing done! So I have a quickie free sewing project for you that will take no time at all. It's a Tablet Coverlet. Sew one up for yourself, a friend or your techy hubby or dad for Father's Day!


Here are some other fabric ideas.

The Tablet Coverlet is a nice way to keep your electronics protected and make it personalized.


Although this is a simple project, I love using my BERNINA 780 for it. The machine makes this so effortless for my by cutting the thread for me at the end of my seam! Next time I think I'm going to quilt my Tablet Coverlet using free-motion stitching with the BERNINA Stitch Regulator (BSR). That would really make the solid Pure Elements fabric pop!

You can find the link to the Tablet Coverlet instructions here.

What you'll need:
  • 3/8 yd of Fabric A
  • 3/8 yd of Fabric B
  • 1/8 yd of Fabric C
  • 3/8 yd of Muslin 44" wide
  • 3/8 yd of Fleece 45" wide (sew-in)
  • 1 3/4" x 10 1/4" strip of interfacing (medium weight non-fusible)
  • Turning Tool
  • Hand sewing needle

Happy sewing!


Monday, April 15, 2013

FREE Project : Cooking with Spice

Mother's Day in less than a month away! If your mom loves to cook, why not gift her with an apron? Your mom would love a handmade gift from you!

My Spice It Up apron is feminine and flattering and can be sewn up in about a day.


What You'll Need:
  • 3/4 yd of Fabric A
  • 1/2 yd of Fabric B
  • 1/2 yd of Fabric C

Click here for the free PDF directions.

Happy sewing,
Pat

Thursday, December 6, 2012

Love Notes for you

Hello loves!
So happy to be talking with you again. After reading your comments on my latest post, I don't have enough words to thank you all the outpouring of love you sent me!! You are so nice... thank you from the bottom of my heart :)

It has been a crazy week here! I've been working on some other juicy posts I'll share with you with my experiences in Paris and London. This year I was very blessed traveling to Europe twice, and I was saying to Walter how much I'd have loved you could come with me and see all the beauty there! But don't worry, I'll try to show you as much as I can :)
On quilting news, I love some projects that I'm working on... my projects... for my blog :) I can't wait because I love making stuff!

Since I love scarves, I thought you maybe needing quick projects for Christmas, so I decided to make the cute and oh-so-easy "Love Notes" for you. Because this is its name, lol! 

They are really flattering and, depending on the fabric, they can match any outfit on your wardrobe. Now, for the fun part, is to choose the fabric! You can make Love Notes in quilting cotton weight like me  -Miami weather, I need lighter ones :) If you live up north, you can use one layer of cotton and the other one of flannel. This is a great excersise for the brain, like I like to call it... decisions, decisions!
Finished size: 11¼" × 76"

Do you want to make it along with me? Lets's start!
You will need:
  • 1½ yds of the fabric of choice
  • 19" elastic band (1/8" thick) Cut in half
NOTIONS:
  • Turning Tool
  • Hand Sewing Needle


Step 1. Cut the scarf fabric
Sew all right sides together with ¼" seam allowance. Press open.
  • Cut 2 (two) 24” x WOF rectangles from fabric selected
  • Place one rectangle on top of the other and fold them in half lengthwise.
  • Make a mark 10” from the corner inward on the unfolded side.
10” from the corner inward

Step 2. Attach pieces at center back
  • Attach them the two pieces of fabric crossgrain wise on the straight edge, making sure that the pointed corners (created on Step) are facing outward. This creates the center back of the scarf. 
  • Press the seam open.

 Step 3. Close the curved seam 
  • Now that you have only one continuous piece, the next step is to fold it in half lengthwise (right sides facing each other).
  • Pin and sew along the open edges. Start on the straight side about 2 inches before the center back seam (back-stitch). Sew all around the piece pivoting at the corners with the needle down. Stop 3” (back-stitching here too) from the starting point. Leaving this opening will allow turning later in the process.
  • Make small cuts (clips) along the curved edges being careful not to cut through through the seam. This releases some of the tension created when sewing a curve. Press the whole piece.

 Step 4. Attach elastic band to fabric
  • Take one of the 9½" elastic bands and sew it on one of the curved seams. At this point the scarf is still inside out. Make sure to pull the elastic as you sew so that when stretched, the elastic reaches from corner to corner. Back stitch at both ends, and if in any case you should stop, make sure that the needle stays down and through the elastic.
  • As you sew the elastic on, it will begin to gather with the fabric. Make sure to stabilize the fabric in the back while still pulling the elastic in the front.
  •  When you are done trim the excess fabric to reduce volume (optional).
  •  Repeat the previous step on the other curved side of the scarf.
  
Step 5. Turn and gather
  • The next step is to turn the scarf inside out with a turning tool.
  • Place the turning tool on one corner of the scarf, and push it until it goes all the way through the 3” opening you left on step 3.
  • Repeat the previous step with the other corner so that the right side of the fabric is completely out. Make sure to push the turning tool well at the corners so that they are completely turned toward the right side. Press well.
  • To create further volume in the scarf ends, you will make long stitches along the elastic seam using a hand needle.
Elastic Seam
  • Start on one side at the tip of the scarf with a single-threaded needle, using a thread that blends with the fabric.
  • Create a long stitch (about 1") in between both layers of fabric. Do NOT go through the back of the fabric.
  • Pull the needle so that it is facing you, and when you create the next stitch (on the outside) take care to see that it is a short one (about 1/8”). Continue making one long stitch inside and one short stitch outside. Keeping all the long stitches hidden in between fabrics, and until your reach the same level of the elastic.
  • Once you reach the elastic level, pull the thread gently in order for it to further gather the fabric.
  • While holding the gathered fabric, finish the stitch by looping the thread so that it stays in place.
  • The finished gathered ends look like this:

Step 6. Finishing the scarf
  • To finish, close the 3” opening with a hand sewing needle creating an invisible stitch*. No stitches should show on the right side. Press well.

Did you have fun? It's really easy! They are great gifts for your children' teacher -well, not for mine, since he is 23 lol! For friends and coworkers, they're also so cute to give. I am making some for the ladies that work at my local post office. I'm sure they will be so happy!

I want to thank my sweet Priscilla who helped me on some of the photos :)

If you want to have a free pdf file instead, you can download the Love Notes Scarf pattern here, along with various other sewing projects.

Have fun and happy sewing :)
10